
As we embark on the final phase of our Google Workspace to Microsoft 365 migration journey, it’s time to put all our preparation into action. In our previous discussions, we explored the compelling reasons driving organizations to make the switch from Google Workspace to Microsoft 365, highlighting the enhanced collaboration tools, robust security features, and seamless integration capabilities that Microsoft 365 offers. We also delved into the various migration options available, from automated tools to manual processes, and discussed the current limitations and challenges that organizations might face during the transition. Additionally, we covered the crucial prerequisites and setup steps required at both the source and target environments to ensure a smooth migration process. Now, with all the groundwork laid, we are ready to initiate the migration of our first batch of users, marking a significant milestone in our journey towards a more efficient and integrated digital workspace.
Migration Batch Creation
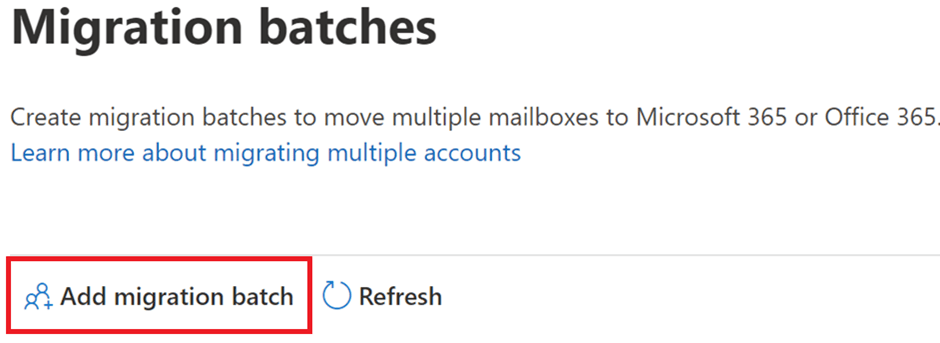
In order to initiate the migration Let’s navigate to the exchange admin center –> Migration or browse https://admin.exchange.microsoft.com/#/migrationbatch
Click on add migration batch.
Give your migration batch a meaningful name. This is equivalent to running the following PowerShell command in PS New-MigrationBatch -Name “Migration Batch 1”.
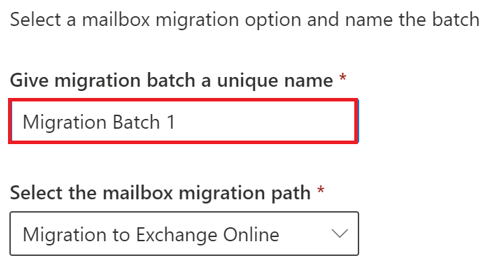
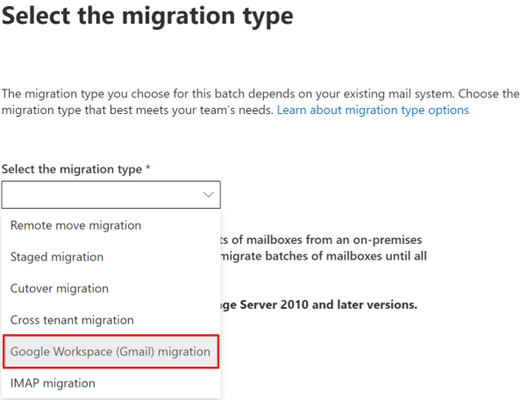
In select Migration type window select google workspace (Gmail) migration.
Pre-requisite check
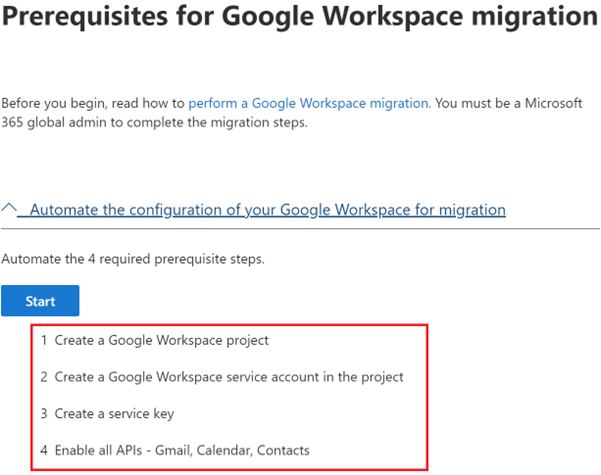
Now comes the pre-requisites section. Here you can either automate the pre-requisite setup, or you can do it manually.
If you select the automated way then it will create the workspace project, create a service account in the project, create a service key and enable APIs – Gmail, Calendar and Contacts
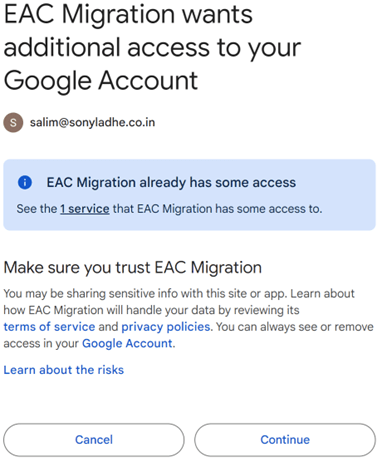
Once I click on start, it will pop-up a window and ask me to sign-in to google using the Google admin account. We have already configured project creator and create service accounts roles.
You will have to click on continue to provide necessary permissions.
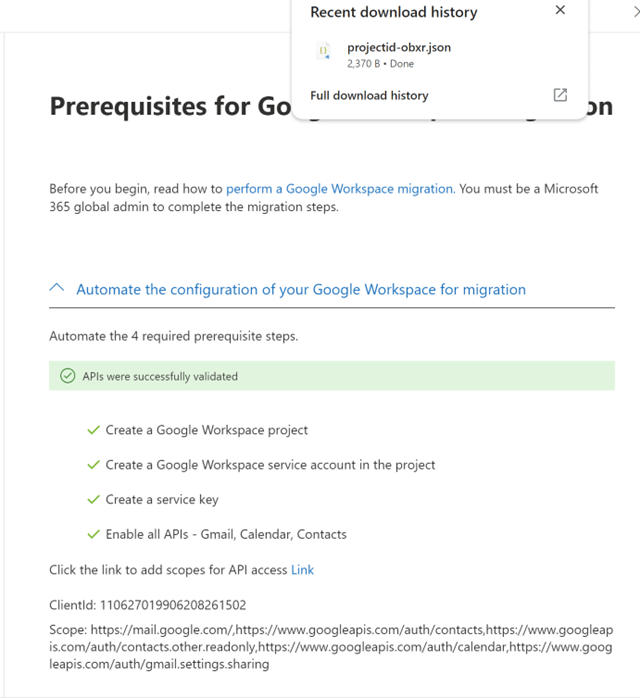
This step might require a few attempts to complete. You may encounter issues with ‘creating a Google Workspace service account in the project.’ Retrying a couple of times should resolve this. Once all checks are passed, a JSON file will be downloaded, which is necessary for authenticating the service account.
Switch to Google to check pre-requisites.
I will navigate to https://console.cloud.google.com/ and then click on IAM & Admin and can see that a project is created.

I will then navigate to API & Services and will validate if the required APIs are enabled.
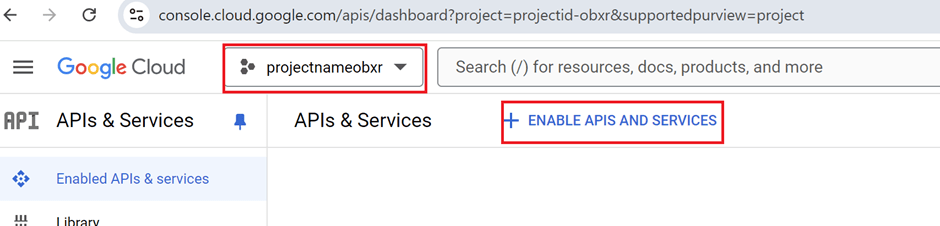
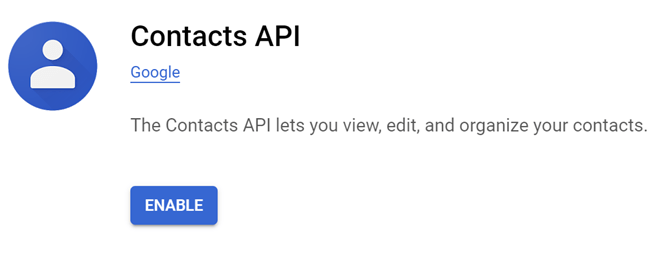
Please make sure to select the created project and then click on ‘Enable APIs and Services.’ While the wizard is supposed to enable the Gmail, Calendar, and Contact APIs, it seems to have only enabled the Gmail API. We can manually enable the Calendar and Contacts APIs.
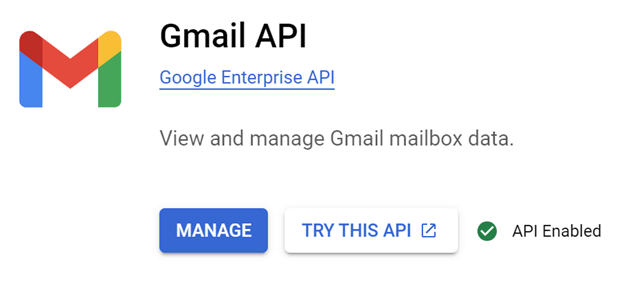
First, I will search for GMAIL API. I can see that the API is enabled for Gmail. Followed by Calendar API and Contacts API which should give me an option to enable.

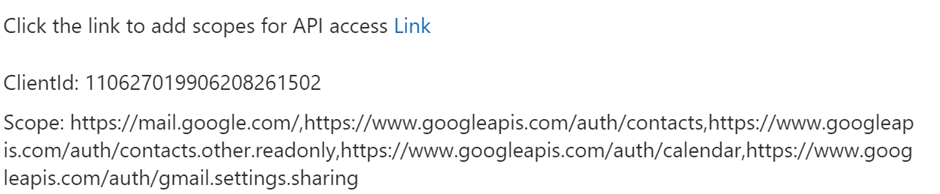
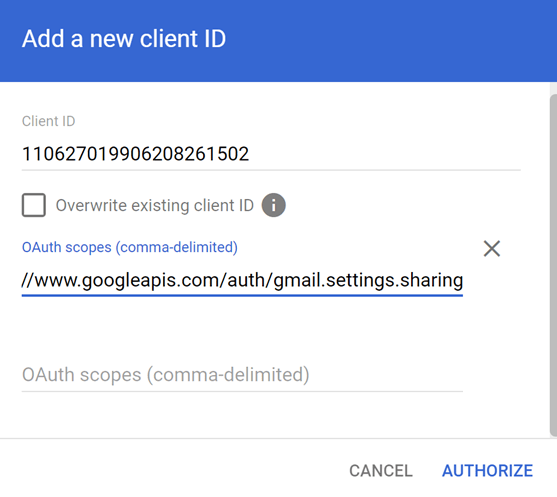
Next, I’ll proceed with authenticating the service account. I can either click on the provided link or navigate to https://admin.google.com/ac/owl/domainwidedelegation and click on ‘Add.’ Then, I’ll enter the Client ID received from the wizard, specify the scope, and click on ‘Authorize.’
Migration endpoint creation
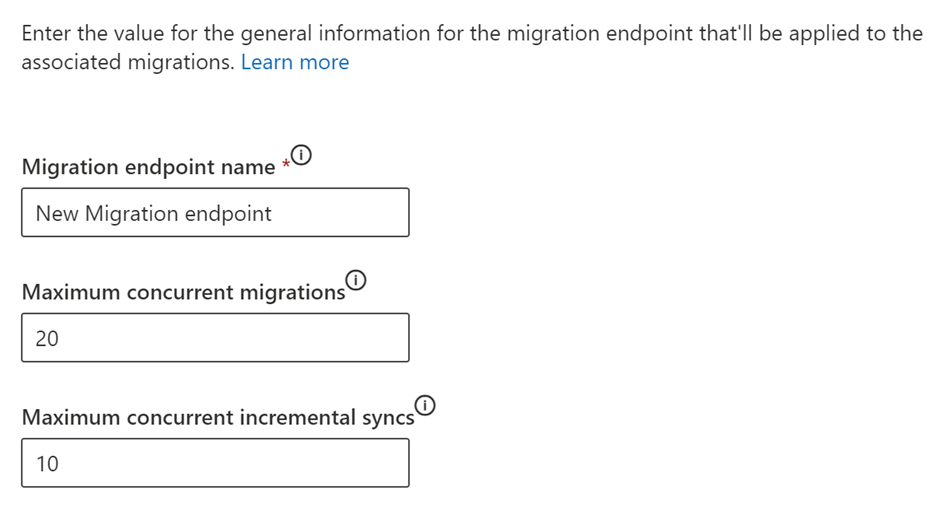
Now, I will be presented with the window to select previously created migration endpoint or to create a new Migration endpoint.
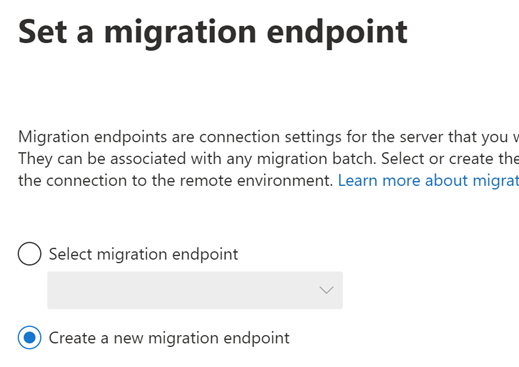
I will proceed with the new migration endpoint. I will name my migration endpoint and then click on next. I can add up to 300 concurrent migrations https://learn.microsoft.com/en-us/exchange/troubleshoot/move-or-migrate-mailboxes/how-to-manage-maximum-concurrent-migration-batches
Now I will have to provide the admin credentials of Google Workspace and upload the JSON file that was downloaded earlier.
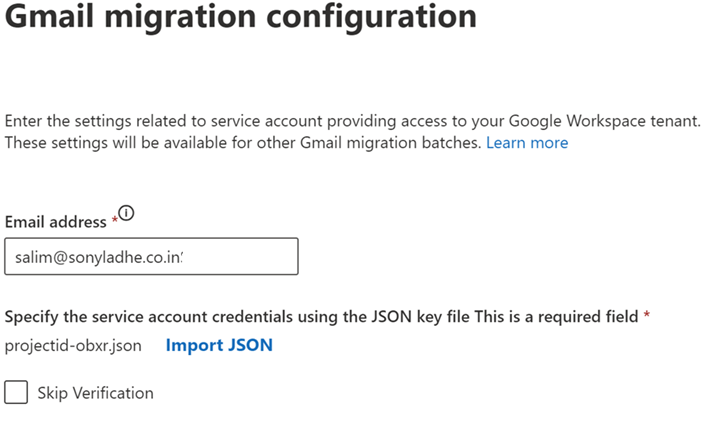
This should complete the process of Migration endpoint creation.
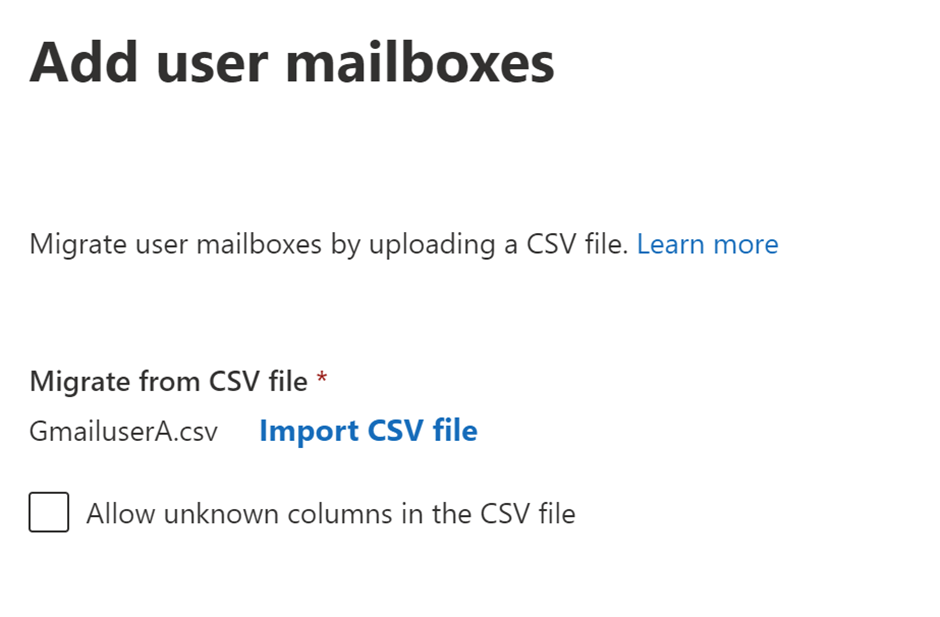
Add users to Migrate
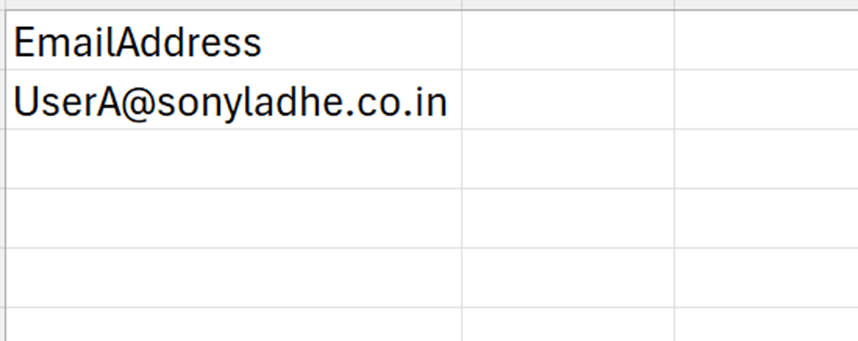
We will have specify the users who we need to migrate. We need to provide the CSV file and the CSV file should mandatorily include the email address.
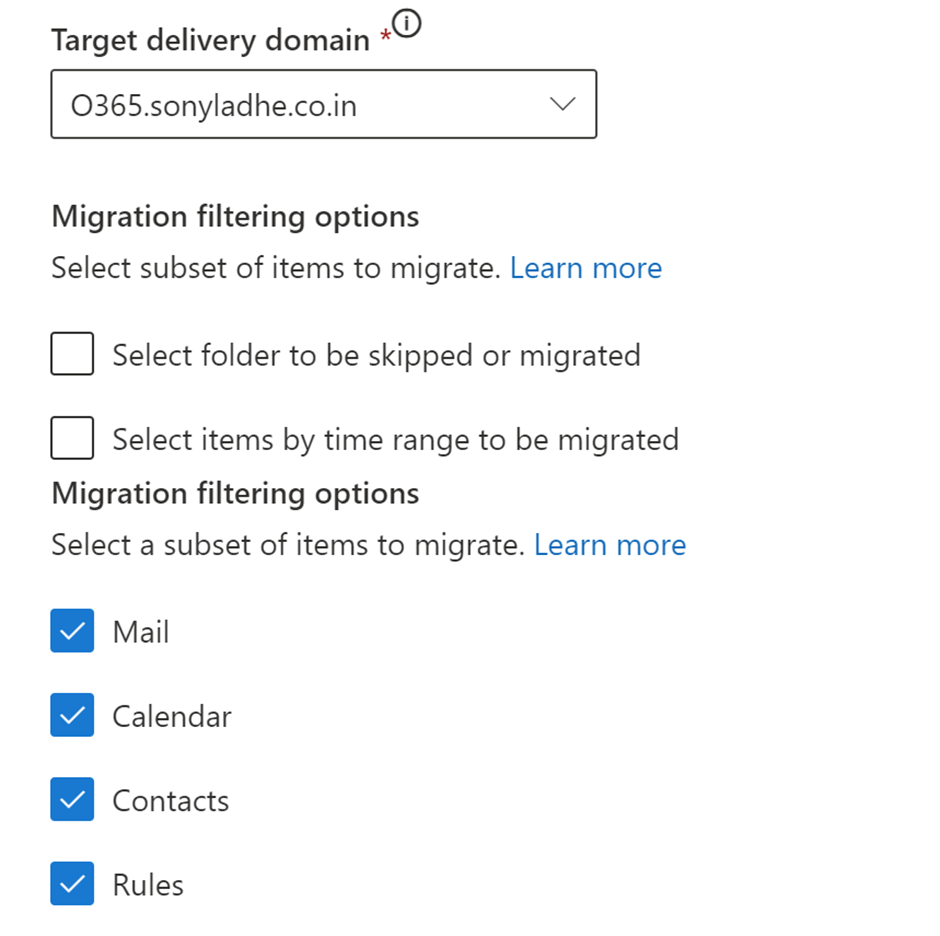
Once done, I will click on next. Now I need to provide the Target delivery domain. This is to setup forwarding on the mailbox at Google because post migration completion the user will be using the mailbox in Microsoft 365. Ensure that the target delivery domain is the sub domain that was verified in Office 365 which is O365.Sonyladhe.co.in as we have the MX for this domain pointing to Microsoft. The same domain must be added as an Alias as well in Microsoft. I can also specify the folders to skip and select migration options here basically. I will keep all default checked.
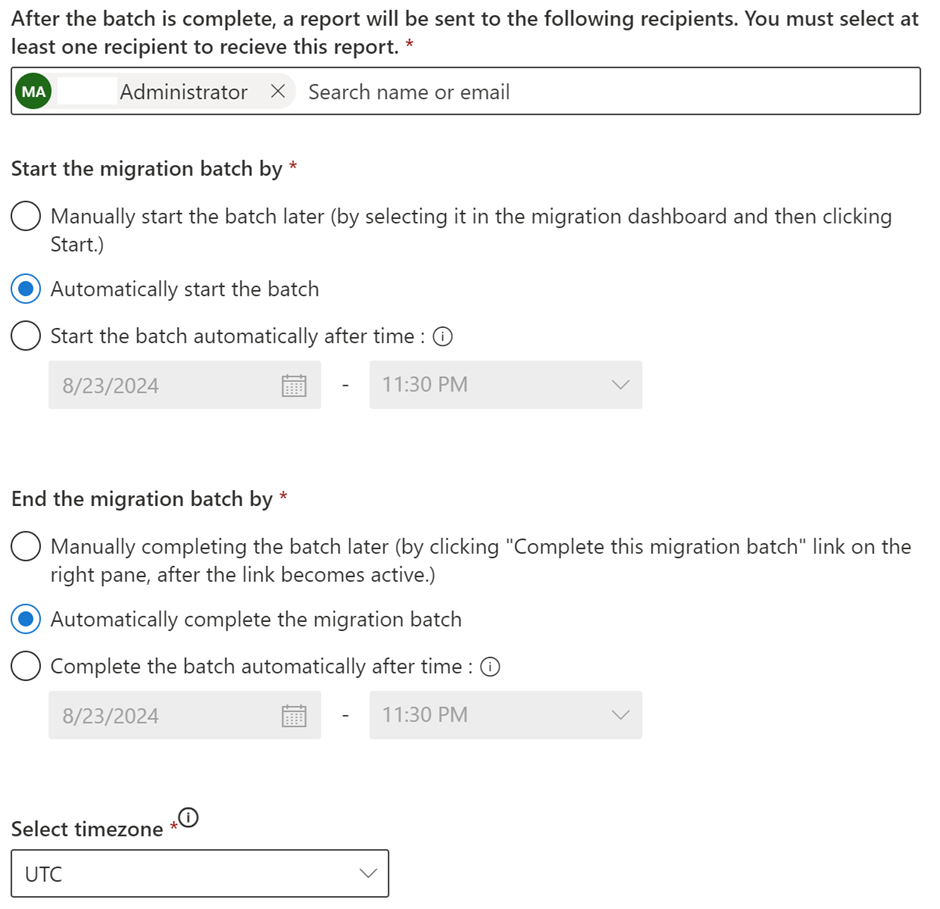
Next, I need to designate the Admin who will receive the Migration report. Additionally, I can choose how to initiate and conclude the migration batch.
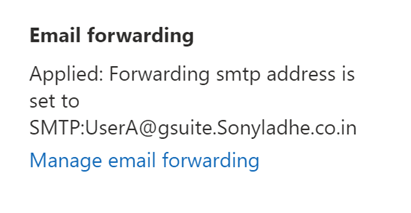
Once done the migration will kick in and first It will validate the user and then provision the user. During Provisioning the user will be converted from Mailuser to Mailbox and Email forwarding will be setup.
Once completed, It will start synching the migration batch.

As we wrap up this series on migrating from Google Workspace to Microsoft 365, I hope you found the comparison between the two platforms insightful and the step-by-step guides helpful. From understanding the key differences between Google and Microsoft, to exploring the various migration options, and finally configuring the necessary prerequisites, we’ve covered a lot of ground. Remember, this series is intended as a reference guide. The actual migration process involves several other critical factors such as mailbox size, dumpster size, retention processing at the target, Timeline, Throughput etc. Each organization’s needs are unique, so it’s essential to consider these aspects carefully to ensure a smooth transition. Happy migrating!

Leave a comment